Showing posts with label Cards. Show all posts

Saturday, July 24, 2010

Baptism Card

Hi girls,

Here's a beautiful angel baptism card I made last week for my cousin.


I can't take credit for the idea as I got it from a utube video. You can check it out at:  http://www.youtube.com/user/vadeler. She demonstrated how to make the angel for a christmas card but I thought it would be perfect for a baptism card as well.

The angel was made from 3 Stampin UP (SU) punches - large scallop oval, 1-3/4circle and the large tag punch. I used SU 'shimmering white' cardstock for the gown and sleeves and some white glitter paper for the wings and clowds. I used SU 'vanilla' cardstock for the face and hands and inked around the edges with 'more mustard' craft ink. I used SU 'more mustard' cardstock for the hair and the skirt of the gown.

I took a gold inked pen and outlined the edges of the wings, gown and sleeves to make it more church like. I also added a tiny gold cross in the center of the gown. I colored the cheeks with SU pink chalk color.


I didn't have the SU 'boho blossoms flower punch' at the time (definately on my next SU order) so I used a small flower punch and cut it in half to make the hands...came out nice regardless.

I then embossed a baby blue cardstock in a pokadot embossing folder for my background. I inked and distressed the edges and then adhered it to another blue tone cardstock. I then glued it all to a white card and inked all the edges with vintage photo distress ink.

I cut a strip of white and yellow ribbon that matched the colors of the angel and made a double bow. 

Now for the inside of the card, I cut a baby blue color cardstock and inked the edges in vintage photo distress ink and distressed them as well. I then cut another cardstock about 1/2" smaller, punched out the corners with a decorative corner punch and inked all the edges in blue distress ink. I then used a finger dabber and ever so gently rubbed the white cardstock with the blue distress ink just to give it a little shade, like clouds.


I cut out a large oval scallop in the same baby blue cardstock for the background of my oval cut baptism poem.  I used a simple technique to get this aged look. I printed the poem onto a piece of photocopy paper, crumpled it up and then carefully flattened it out without removing all the crumples.  I then used a finger dabber with a mix of vintage photo and old paper distress ink. Once I liked the look I then turned it over and ironed out the wrinkles.  I then inked the edges with vintage photo once again to give a more detailed outline.


I added a shear blue and gold ribbon to the top of the frame.  A beautiful vintage look!

Now for the back of the card. I did the usual, stamped an image in versamark and poured clear embossing powder.

I wanted to add a cross to the card so I added it to the back.  I cut out a cross from a cardstock that had cross images on it and then I inked it up with versamark. I then poured clear Utee embossing powder and heat embossed.  I kept adding the Utee until the cross was evenly covered.


And now for the envelope.  I wanted to keep a vintage look so I inked up my medallion stamp in SU 'more mustard' and/ taken with teal' ink color and stamped the left corner of the envelope. 


I made a tissue paper flower by cutting approximately 12 circles out of blue tissue wrapping paper. I crumpled them all up individually and the carefully opened them and layed them one on top of each other. I then inked the edges randomly and then sprayed white glimmer mist over it. So beautiful!!

I then stamped the back of the envelop opening in the same color using another vintage looking stamp.


And finally, I inked the edges of the envelope in 'teal blue' ink.

Back with more cards real soon!!

Enjoy your weekend.

Lynn xx


MEDALLION CARD

Hi ladies,

I made my first medallion card using the medallion stamp by STAMPIN UP.
This mediallon stamp is so beautiful I can't wait to make more cards now.

I used three different ink colors and applied them to the stamp with an ink finger dabber.  Once my color was applied to the stamp I huffed on it to moisten the ink a little and then stamped my image. Cool effect!
I then inked the edges of the cardstock and distressed it with my finger.  I matted the image onto a contrasting color and then adhered it to the card base.

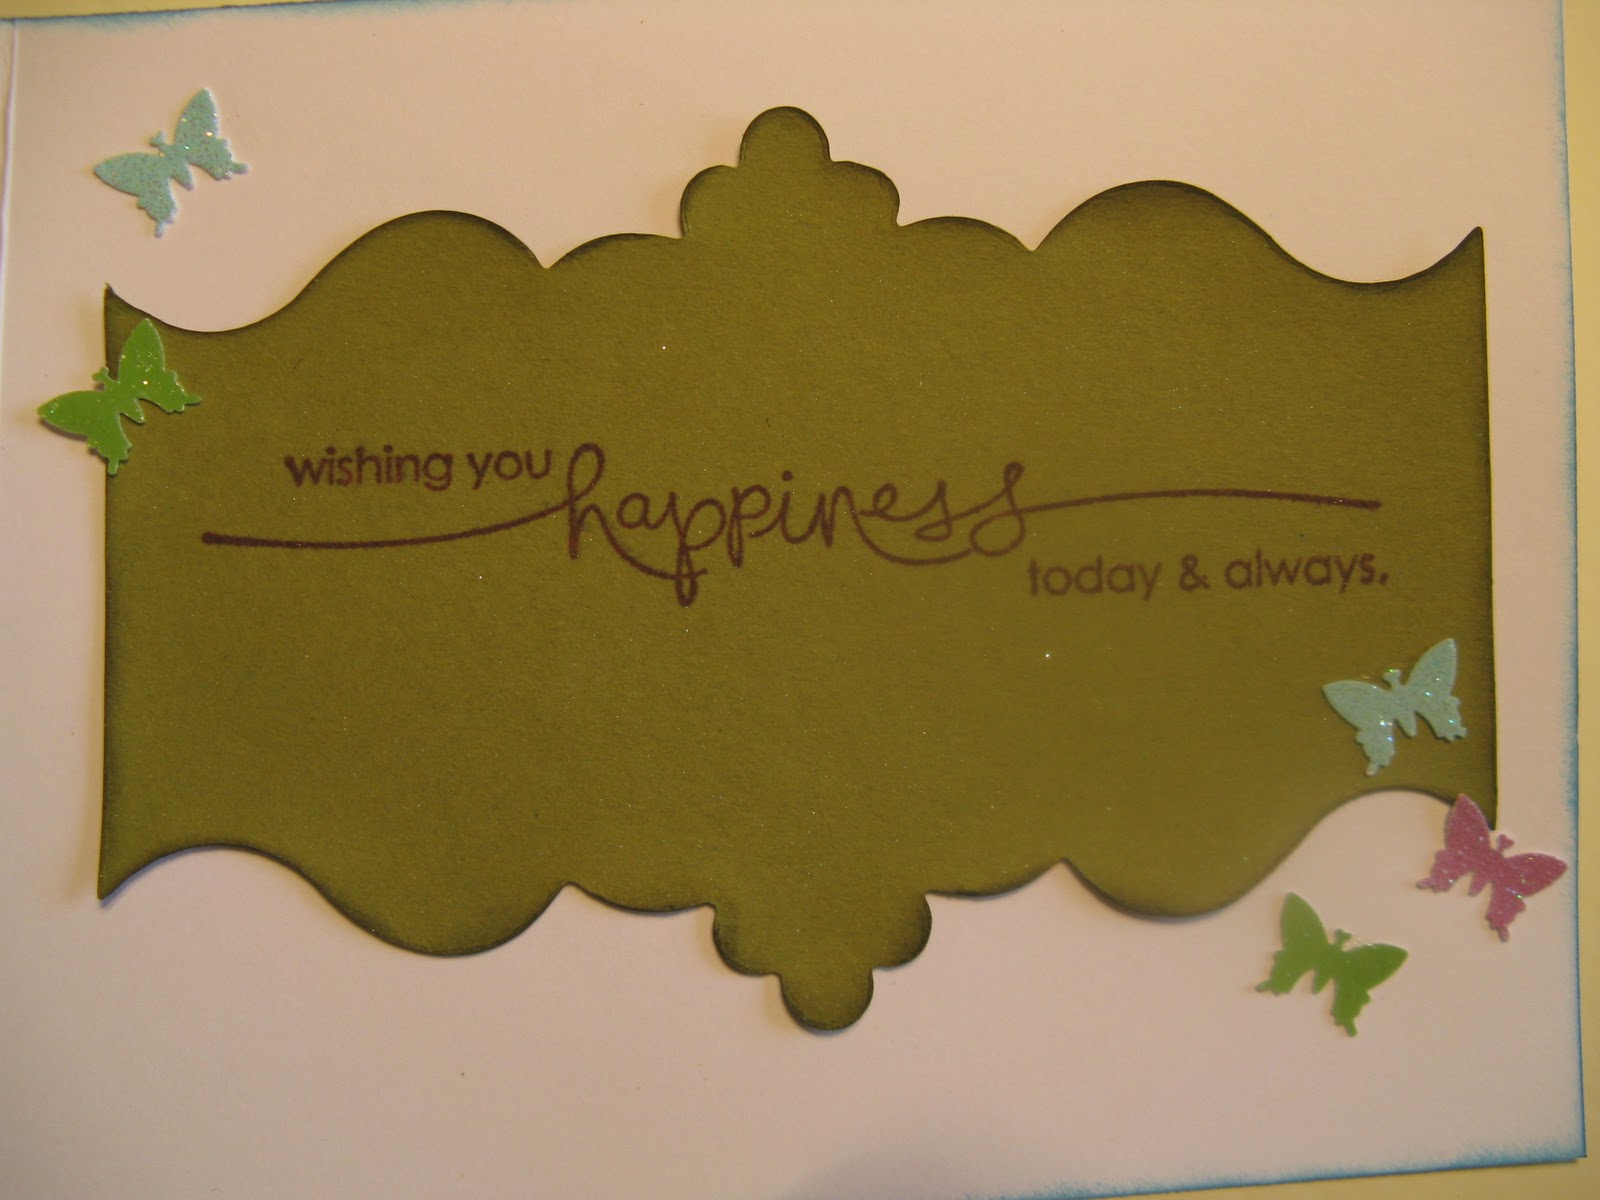
I added a pretty flower in the center of the card and a butterfly on the right corner. Now the card has dimension and pops out......love it!


I used a sizzix's label die and stamped my greeting.  I punched out a few tiny butterflies out of glitter paper to give more color and dimension.


I inked all around the edges of the card and decided that I wanted to do something with the backside.
I inked up a flourish stamp, which works well with the medallion image, in versamark and stamped .
I poured sparkling white embossing powder over the versamark ink and heat set it.... and Voila!


Hope this card inspires you, come back for more fun using the medallion stamp from Stampin UP.

Bye for now ;)

Lynn

Saturday, May 15, 2010

BABY JUMPER CARD

Well it's Saturday and raining again...what to do?.... make some cards - Yippee!

A coworker just had a baby girl so I decided to make a baby jumper card that I had once seen on a utube video.  I remembered the idea so I just went for it I have to say it turned out really cute.

I started with a regular 4 1/4" x 5 1/2" card and used my 1 3/8" circle punch to make the collar and leg openings. I then punched out scallop circles with a 2" punch and then used a 1 /3/8" punch to end up with a round hollow scallop circle. I glued them to the openings and then just cut off the excess.  I added some glitter here and there- of course, and then tied a bow around the waiste. I finished by adding a few pink pearls.

Hope it inspires you to create one too!! 


Have a great weekend all!

Hugs xx


Monday, March 8, 2010

Easel Card

Hi,

I almost forgot, I have another card to share with you.  My neighbor's daughter is turning 11 years old so I took the opportunity to try out my card making skills again. This is my second hand made card. My first card was a true challenge (Wedding Card) so this one should be a little easier..... lol!

I decided to go with an easel card, simple enough and I had a cupcake in mind as my focal point. 


I used kraft card stock as my base and then layered a fushia rose color cardstock on the top and on the inside of the easel card.


I punched out the corners of a smaller piece of designer paper and applied stickles to each corner.  I cut out a scallop circle on purple cardstock and then a smaller one in white and inked the edges in pink. I stamped the cupcake image on the white scalloped circle and then again on a scrap piece of paper.  I colored in the cupcake and did the same on the extra one but only on the topping as I then cut it out, applied foam stickers to the back and aligned it on top of the my colored picture. This adds dimension to the picture and with a little more glitter glue (stickles) to accent the cream topping and hearts makes it all the more yummy looking.

To make the easal card stand up straight I alligned a Happy Birthday (Bonne Fete) banner 3/4's down the inside with foam glue dots to raise the banner a little.  This way the easal card front is blocked and sits against the banner. I stamped the saying in light violet and then applied the same color tone embossing powder over it and heat embossed it. I then inked the whole banner with light violet distress ink.


 I finished the bottom with a beautiful punch border and sprayed shinny glimmer mist to make it sparkle.


Hope you like it.

Lynn :)


Sunday, March 7, 2010

Wedding Card

Hi,

A coworker viewing my scrapbook album convinced me to take a challenge and make a wedding card for her.  As a new scrapper I had not yet touched cardmaking but was interested so I took the challenge. I had previously downloaded a paper piecing SVG file of a wedding couple and thought I would give it a try.

To be honest, it was not an easy challenge as I was now tackling two never done before projects: cardmaking and paper piecing. It was time consuming but actually not so bad once I overcame my panic of OMG what did i get myself into....LoL!

I had a white wedding embossed cardstock already on hand so I started there and then rubbed yellow distress ink over the back and front of the card to give it some color as the bride was already mostly in white. I used my cricut machine to cut out the images from the svg paper piecing files and then glued all the pieces together. I also cut out a wedding arch and placed the bride and groom in the center.


You can't really see it here but I added white liquid pearls to the grooms tux making it look like suede, very beautiful. I added white crystal glitter to the ruffle at the bottom of the bride's dress and finally I added flower soft over the brides bouquet giving it a more textured and raised effect.

Now that the card was completed i figured out that there still was a challenge left for me to tackle..... the envelope.What I did is look for an envelope on hand that the card would fit into. I then carefully pulled the envelope apart and used it as a template. I drew the envelope on a yellow color cardstock to complement the card. I used a wedding tag purchased at the dollar store scrapping section and glued it to the front of the envelope.


I tied a silk pink ribbon around the card and since the front was so pretty I couldn't leave the back bare so I decided to do something there too.   I added a glitter foam flower to the point of the envelope closure and cut off the remaining petails. I added little silver flowers to add more interest.


And voila!, after having faced all these challenges, the time and dedication put into it, and how pretty the card turned out I had a really hard time parting with it. I'll take the time again soon and make another like it. Thanks Amy, I couldn't have taken this on without you having confidence in me.

Lynn ;)