Sunday, April 24, 2011

How I store my punches

Hello,

Storing punches is a challenge for me as I have so many of them....;)  I have a few drawers that are devoted solely to punches so I store them by theme per drawer. For example one drawer is for shapes such as circles, ovals and squares, another for cut out shapes such as owls and birds, another for borders and another for flowers..... oh my, I didn't realize how many I had until just now and Im not even showing them all.... oh-la-la.


I also have a basket just for tag punches, flowers and leaves.

Since I ran out of drawer space I decided why not start show casing them on the wall...;)  I found these narrow shelves that hold my Martha Stewart punches just perfectly. I like to partner up the corner edge punch with the straight punch.  This way i don't forget it also has a corner punch.... if you know what i mean. 


Stay tuned, more storage ideas on the way.

Cheers,
Lynn

How I store my stamps

Hello Ladies,

I've taken a few pictures of how I store some of my craft products.  Hope these ideas help you along the way to organization.

STAMPS:

I like to use plastic storage options to store my stamps. I use plastic folder style storage containers for my cling and mounted stamps. I really like them as they come in various depths (thin for cling & thick for rubber mounted) and I can store them by theme or type.


I also store my cling and acrylic stamps in DVD style containers.  I purchased the one's below from Stampin UP.  I like to store them by category, size and by theme. For example, I have five DVD cases for all my butterflies, I've labelled each as 'tiny', 'small', 'medium', 'large' and 'x-large. So when I get a new butterfly I simply place it in the appropriate DVD container.


Here I've stored them in a DVD cabinet..... wish it was bigger ;)


Here is the inside of my corner cabinet which stores a mix of the above two storage containers.


Well ladies, that's how I store my stamps. Hope this brings forth some ideas for you to organize your stamps as well.

Stay tuned, more storage ideas being posted shortly.

Later,
Lynn


Scraproom Pics

Happy Easter,

Ok, well I promised you some pictures of my scraproom so here they are, finally. I took them in sections to give you a viewpoint from all directions. Here you go:

View from the entrance into my creative space:


View to the left of my work station:


View behind my scrap desk:


View looking out towards the entrance from my scrap desk:

View looking towards my right:


Now would you believe me when I say this is a pretty small room.... I can't believe how much I have been able to store in this small space.  I guess a lot has to do with being organized and putting my goodies away in such a way that saves on space.  I'll show you some of my space saving preferences that works best for me in my next post. 

Happy Easter everyone!!

Lynn
hugs xxx

Thursday, March 10, 2011

UPDATE

Hi everybody,

Stay tuned for new projects being posted real soon ;)
I have finally finished arranging my new scraproom and now I can't wait to start crafting again.
New projects are in the making ( mini-albums, bird houses, tags, and some gifts ) and I can't wait to share them all with you.

Scraproom pics will be posted by this weekend so come take a peek.

Smiles,
Lynn

Sunday, July 25, 2010

Wedding Gift

Hi ladies,

As promised, here is a picture of my completed wedding project that I will be sending off as a gift.


Im very pleased with the outcome and looking forward to more crafting next week....... so come back to see what else I've gotten myself into....

Have a great week all!!

HUGS,
Lynn

Wedding Easel Card

Hi Ladies,

As promised, I managed to complete the wedding card tody, at the expense of laundry and cleaning.......hehehehe oh well gotta have fun once in a while.

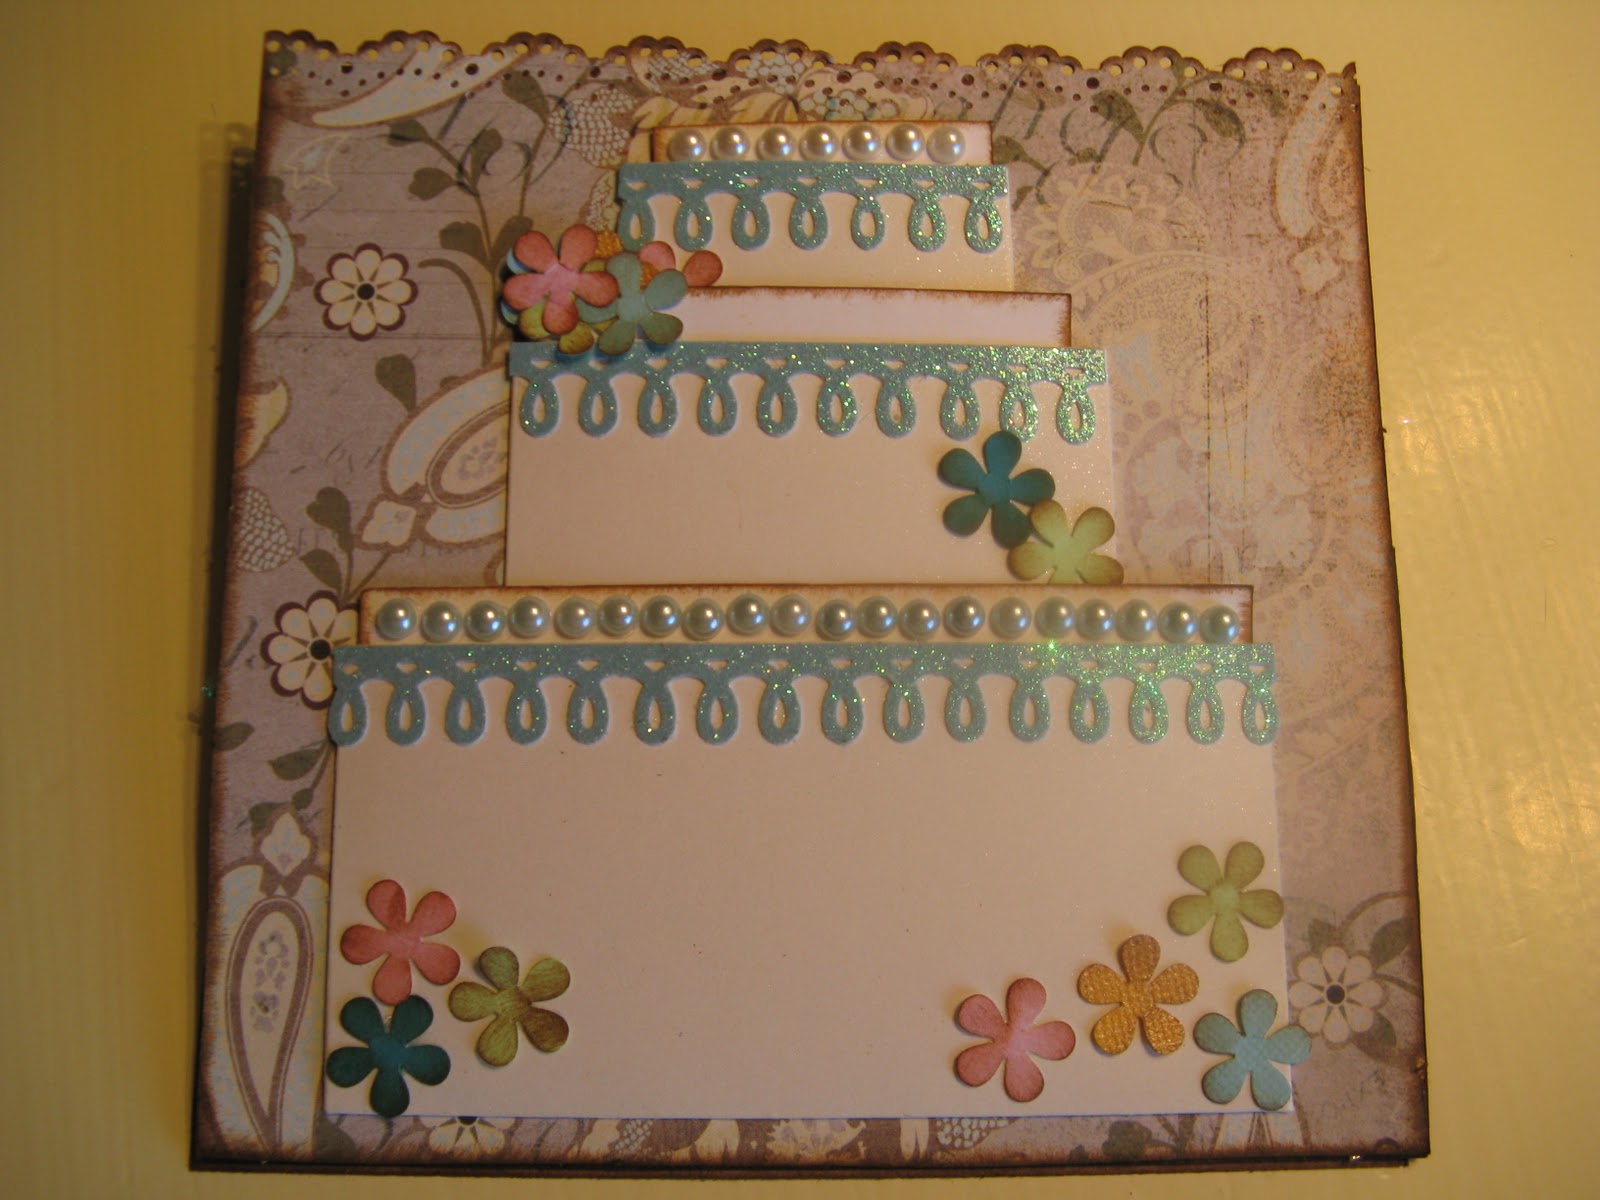
So here is the wedding card that goes with the picture frame. I went with an easel card to be able to incorporate two things related to weddings, a cake and a garter belt.


I had recently watched a tutorial by Laura Denison from 'The Paper Trail' on how to make her Wedding Mini Album and thought about  making a wedding card using some of her pages. You have to check Laura out if your into envelope and mini albums as she is the best out there in my opinion. You can find her at:
http://followingthepapertrail.blogspot.com/ or click here to go straight to her wedding mini album.


The cake layers are actual pockets to insert a tag containing a message. If you look closely you see that I have added pearls to the top and bottom tag and flowers to the middle tag.  This makes it easier to pull the tags out.


Here is what it looks like with the tags pulled out from the pockets.
And here are tags out of the pockets.

I liked the idea of a garter belt as when making an easel card you need to put something down to hold the front of the card up.  So it only made sense to add a garter belt... but how? Well I improvised, I put a strip of sticky glue down and added ruffle ribbon across and then added another strip just above it and turned the ribbon around and added another row.  Then I added a very shinny pretty ribbon in the middle and Voila - a garter belt.


Oops almost forgot, I used craft cardstock and inked the edges and surface of the paper with 'vintage photo' distress ink. I also punched the top of the card for a more dainty look.


And once again, just because I love it so much, my wedding easel card.


Hope you enjoyed this card as much as I did making it.

I'll get a picture of both the wedding picture frame and the card together and post it shortly.

See ya,

Lynn XX

Wedding Picture Frame

Hello ladies,

I have a beautiful and easy project to share with you today, it's an altered picture frame. 
A co-worker of mine is getting married and I wanted to make something special for her. I can't believe how pretty this turned out. I will have to make one for myself now, it's a good thing I bought 2 picture frames.... Lol!


I really had no idea what I was going to do with the frame but knew that I had to start by covering the frame in gesso. I then decided that I wanted a vintage look so I turned to my crackle paints and chose 'tattered rose' color. I applied a thin coat and let it dry for a few minutes and then quickened the drying process with my heat tool, too impatient. I repeated the process once again and got the texture I was going for, Love it!


I liked the effect but wanted it to have a shine effect so I applied an irredescent medium water color with a paint brush over the whole frame....WOW!! just gorgeous. I dabbed some gold ink around the edges of the frame to give it a more vintage look as well.

Ok now the frame was painted, onto the next step.  I fiddled around with some ribbon and decided to go with a turquoise rose ribbon as it fit well on the frame and had a vintage look I was going for. I felt it needed something else so I added a fushia color prima flower in the center.... perfect!


I wanted the picutre to stand out so I also added a very delicate dainty ribbon with little roses around the center frame.

I decided I wanted to have something that represented a bouquet of flowers and I just happen to have a little bundle of blue flowers tied together.  I added two white feathers and some wedding bling behind the flowers for more volume.  I made a bow of blue and gold ribbon and glued it all down. Voila, a beautiful bouquet for a beautiful bride.


I added rings across the bouquet to signify marriage and then inserted a vintage bride picture to complete the picture frame.


I really enjoyed making this stunning frame and can't wait to give it to a very beautiful young bride.

Stay tuned, as the wedding card is next.

Bye for now ;)

Lynn